Let's Paint!
Supplies:
 Watercolor paint: Pthalo Blue, Alizarin Crimson, Cadmium Yellow, Sage Green, Burnt Sienna. You can try this with Crayola watercolors if you'd like. Assorted brushes, water cup, white crayon, paper towels.
 |
 1. Mix a puddle of Sage Green and Purple (Pthalo Blue + Alizarin Crimson)
2. Using wet on wet (see Art Basics: Watercolors) paint the space around the tree (negative space) with green and purple above the horizon line. Paint wet on wet using yellow below the horizon line. Don't worry about being too neat around the branches.- in fact go over the lines a little.
 4. Mix more puddles of purple, green, yellow and burnt sienna.
 |
| Yes, the picture is up-side-down |
 |
| It still should look a little sloppy |


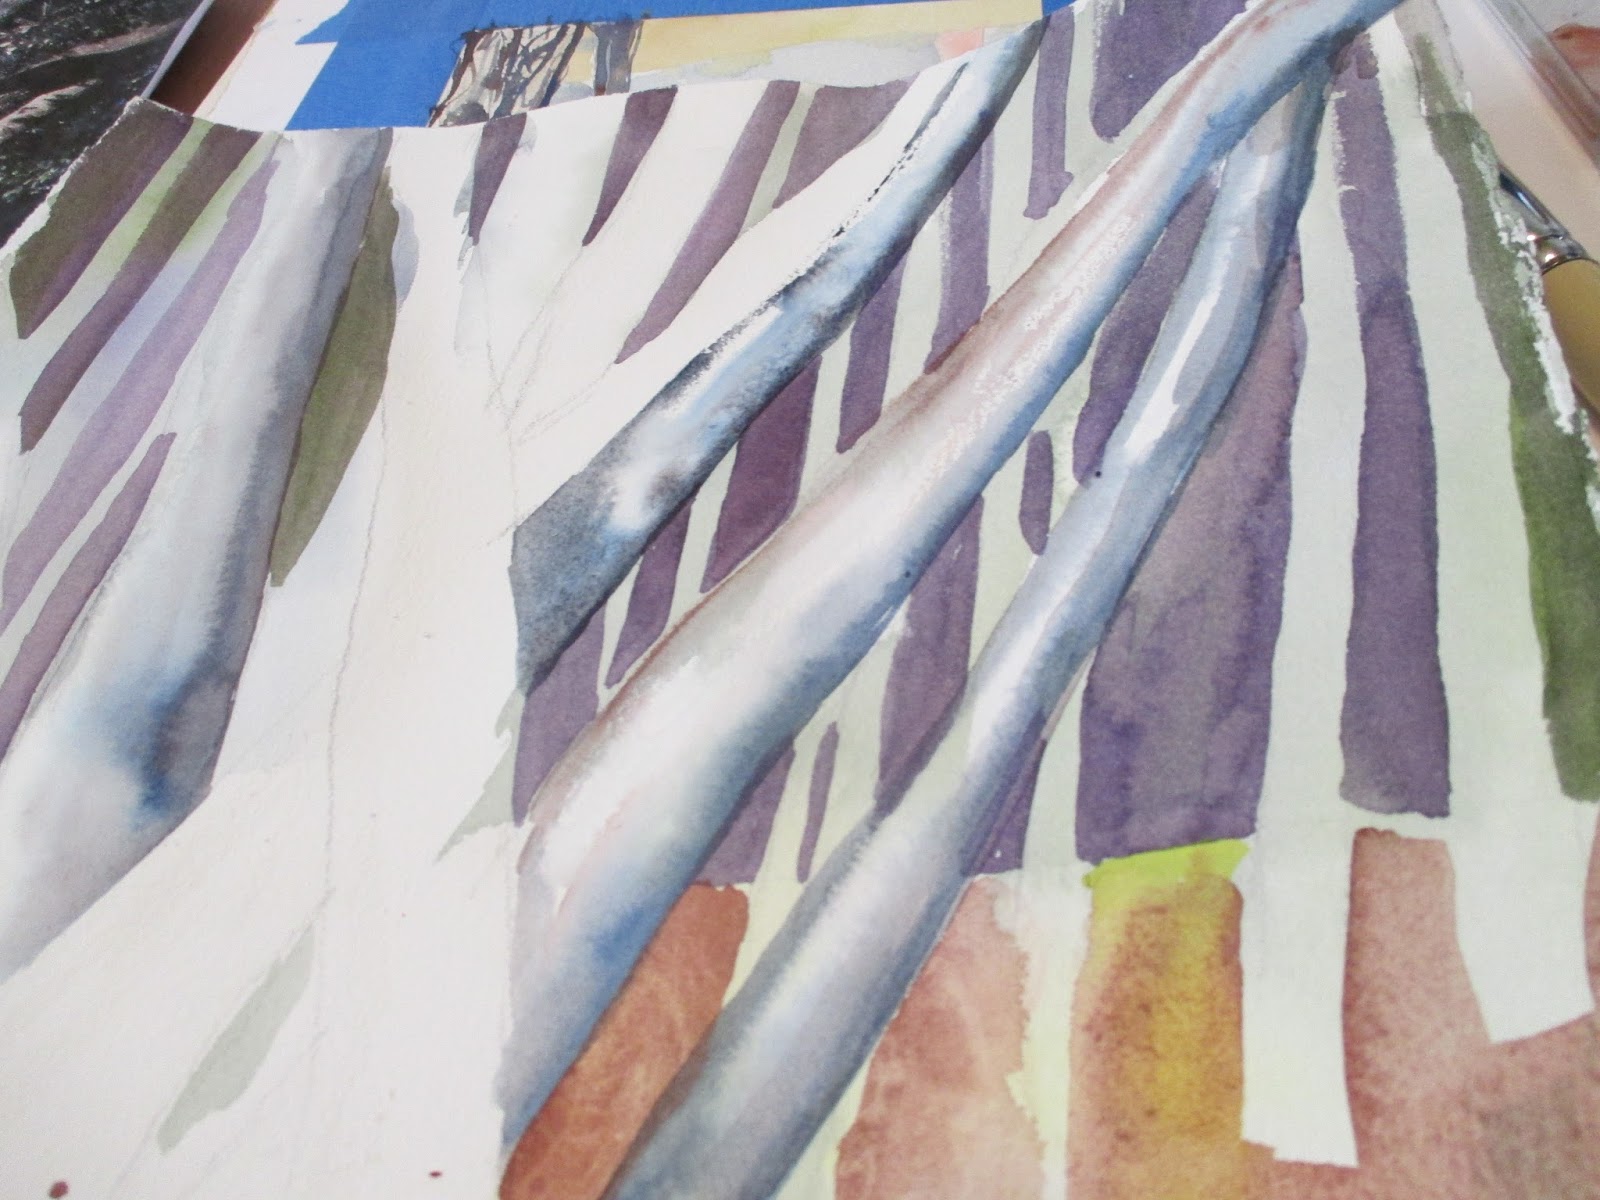 6 Mix a puddle of blue and of burnt sienna. Mix a third puddle of the two combined. This will give you a rich grey.
7. I used a white crayon to add some light areas of texture to the branches of the large tree. These areas will resist the paint leaving white showing through. Don't do too much!!
8. Refer to Art Basics: Watercolors and paint clear water on the big tree branches. I start with the ones in the back first. While the branch is wet paint some of the grey along the edge. The paint will move some to give the illusion of a cylinder. You may need to add a little more paint or water to get some areas darker or lighter. I also alternated between blue, grey and burnt sienna.

10. Dry all branches with the hair dryer.
11. Now use a dry brush technique to add more texture to the large tree. Paint a puddle of grey, blue or burnt sienna to the darker edge of the branch. Then with a brush that you've dried on a paper towel move the paint over getting a "scratchy" look.


12. Using varying sizes of brushes dab on some leafy areas and doodle on some skinny branches and other details.
13. Add some blue shadows on the ground and sign your work.
14. The most important step is STOP before you over paint.
Step back and enjoy your watercolor painting "About a Tree"

Next: Let's get more abstract!
That is really cool. I have a niece who loves art--I'm going to share it with her.
ReplyDeleteWhat a beautiful watercolor painting! I like the dry brush stroke you mentioned that can add texture to the tree trunk. I'll have to do this with my kids.
ReplyDeleteCheck out some of my earlier posts. I have lots of lessons and projects.
ReplyDelete